Creative Cloud Logo Interpretation
My interpretation of the Creative Cloud Logo. Programmatically generated from custom code built with PaperJS and JavaScript.
Concept
The idea began about two weeks ago as I was trying to figure out a project to do during an upcoming week off of work. I was reading about vertext graph coloring, and though it could be a fun, visual project to work on.
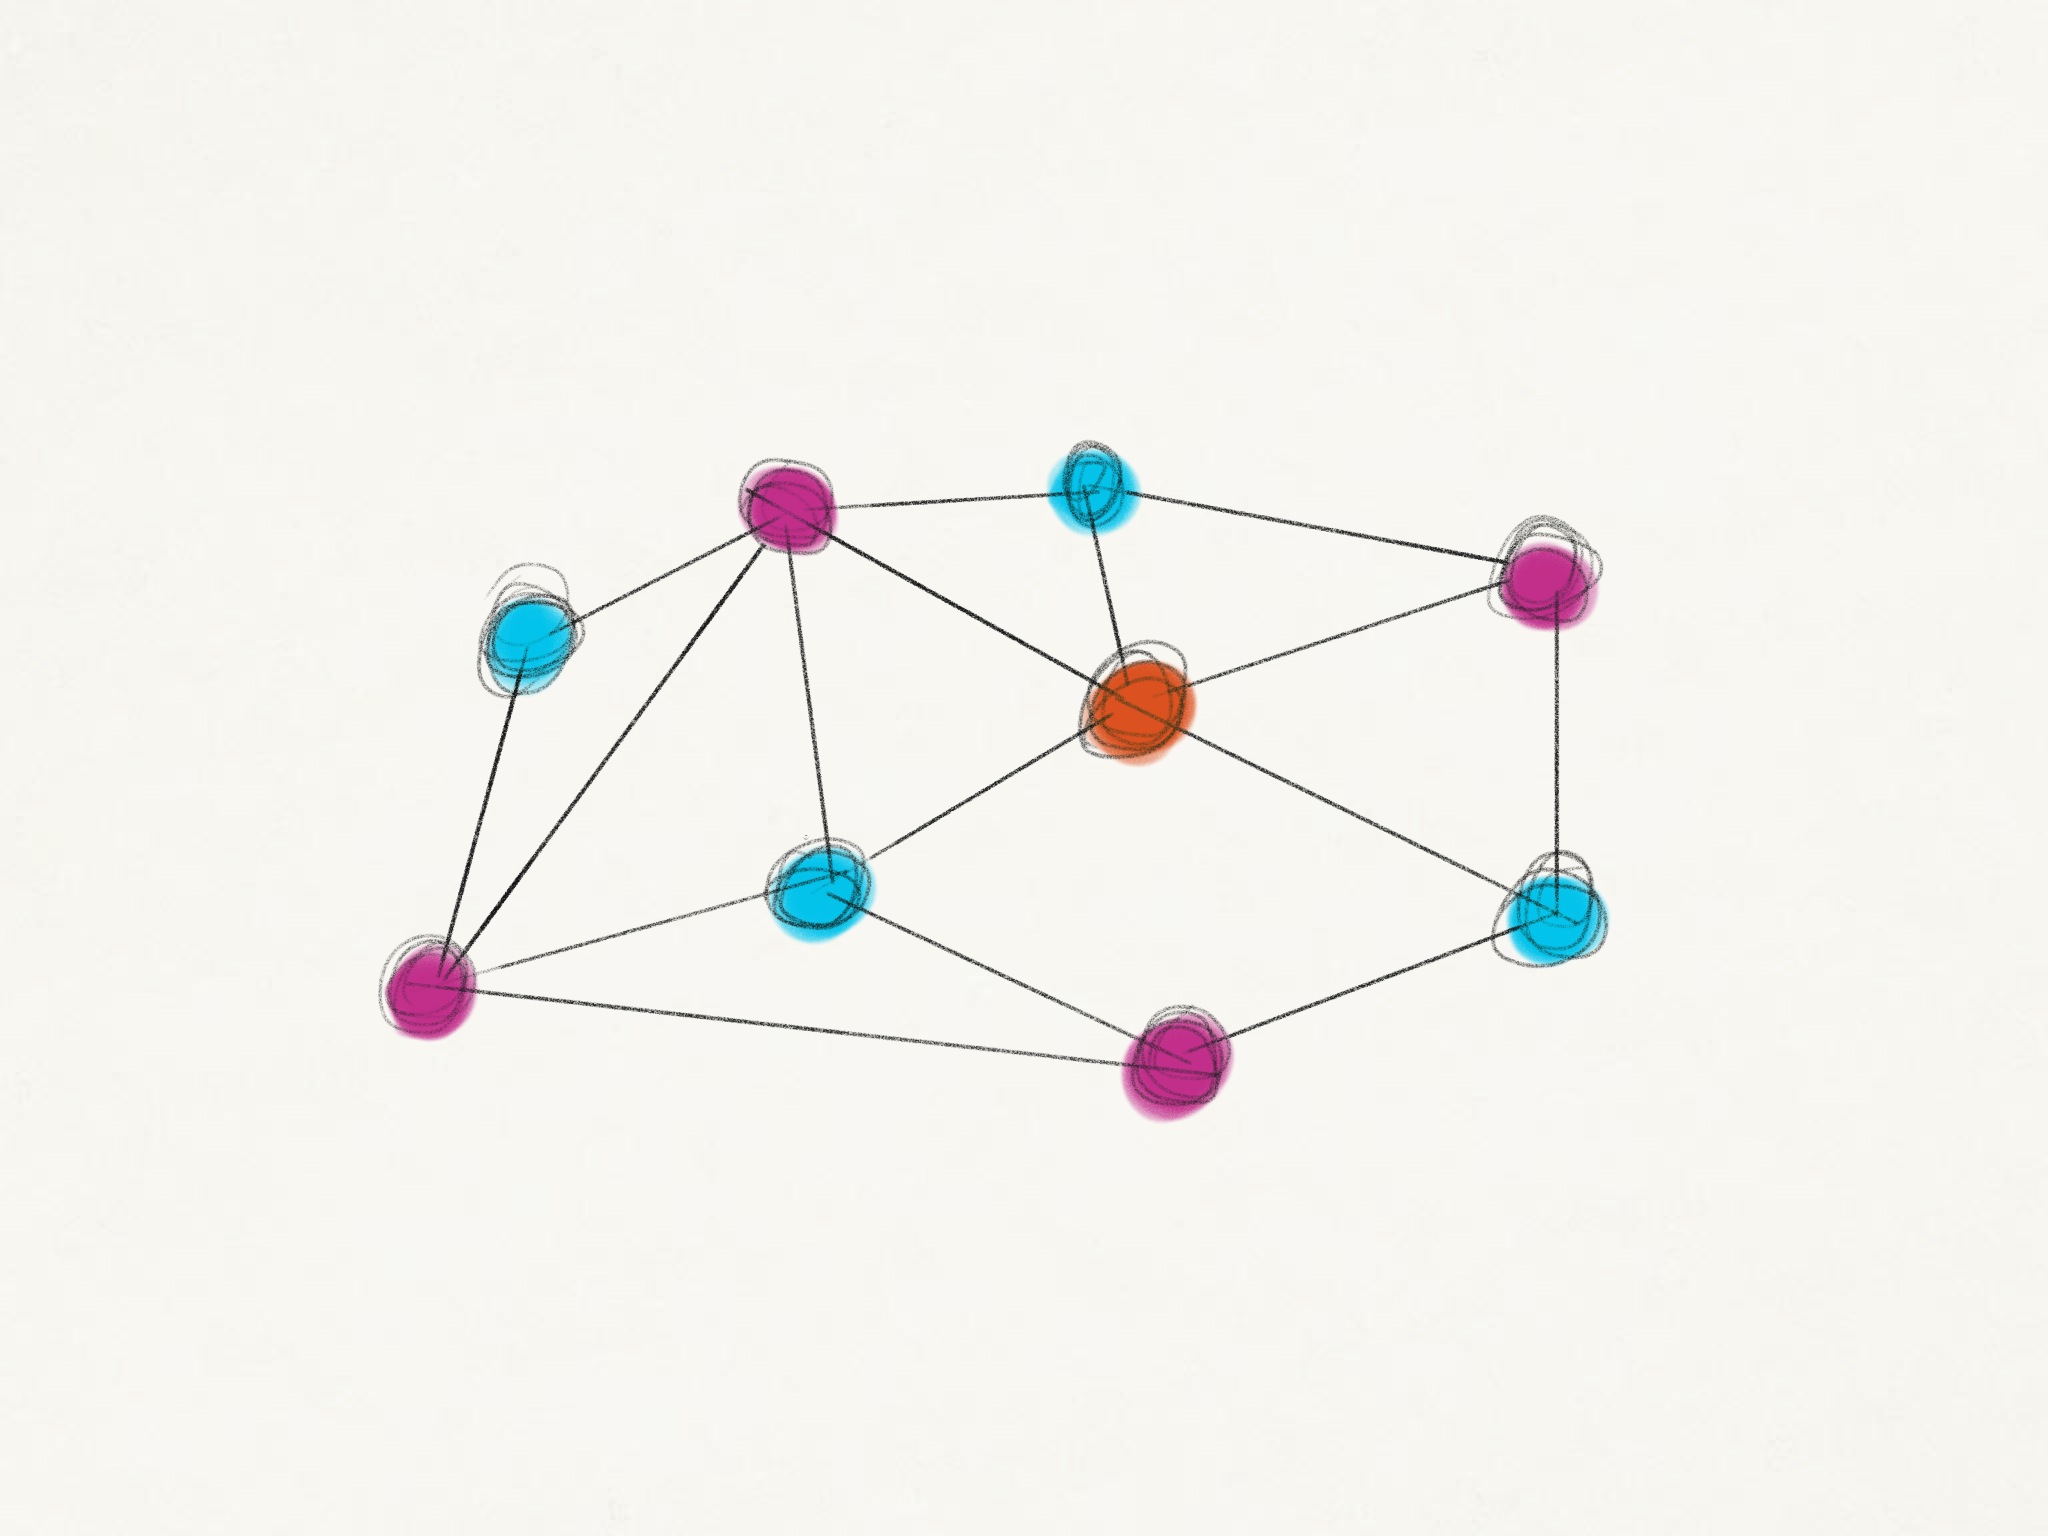
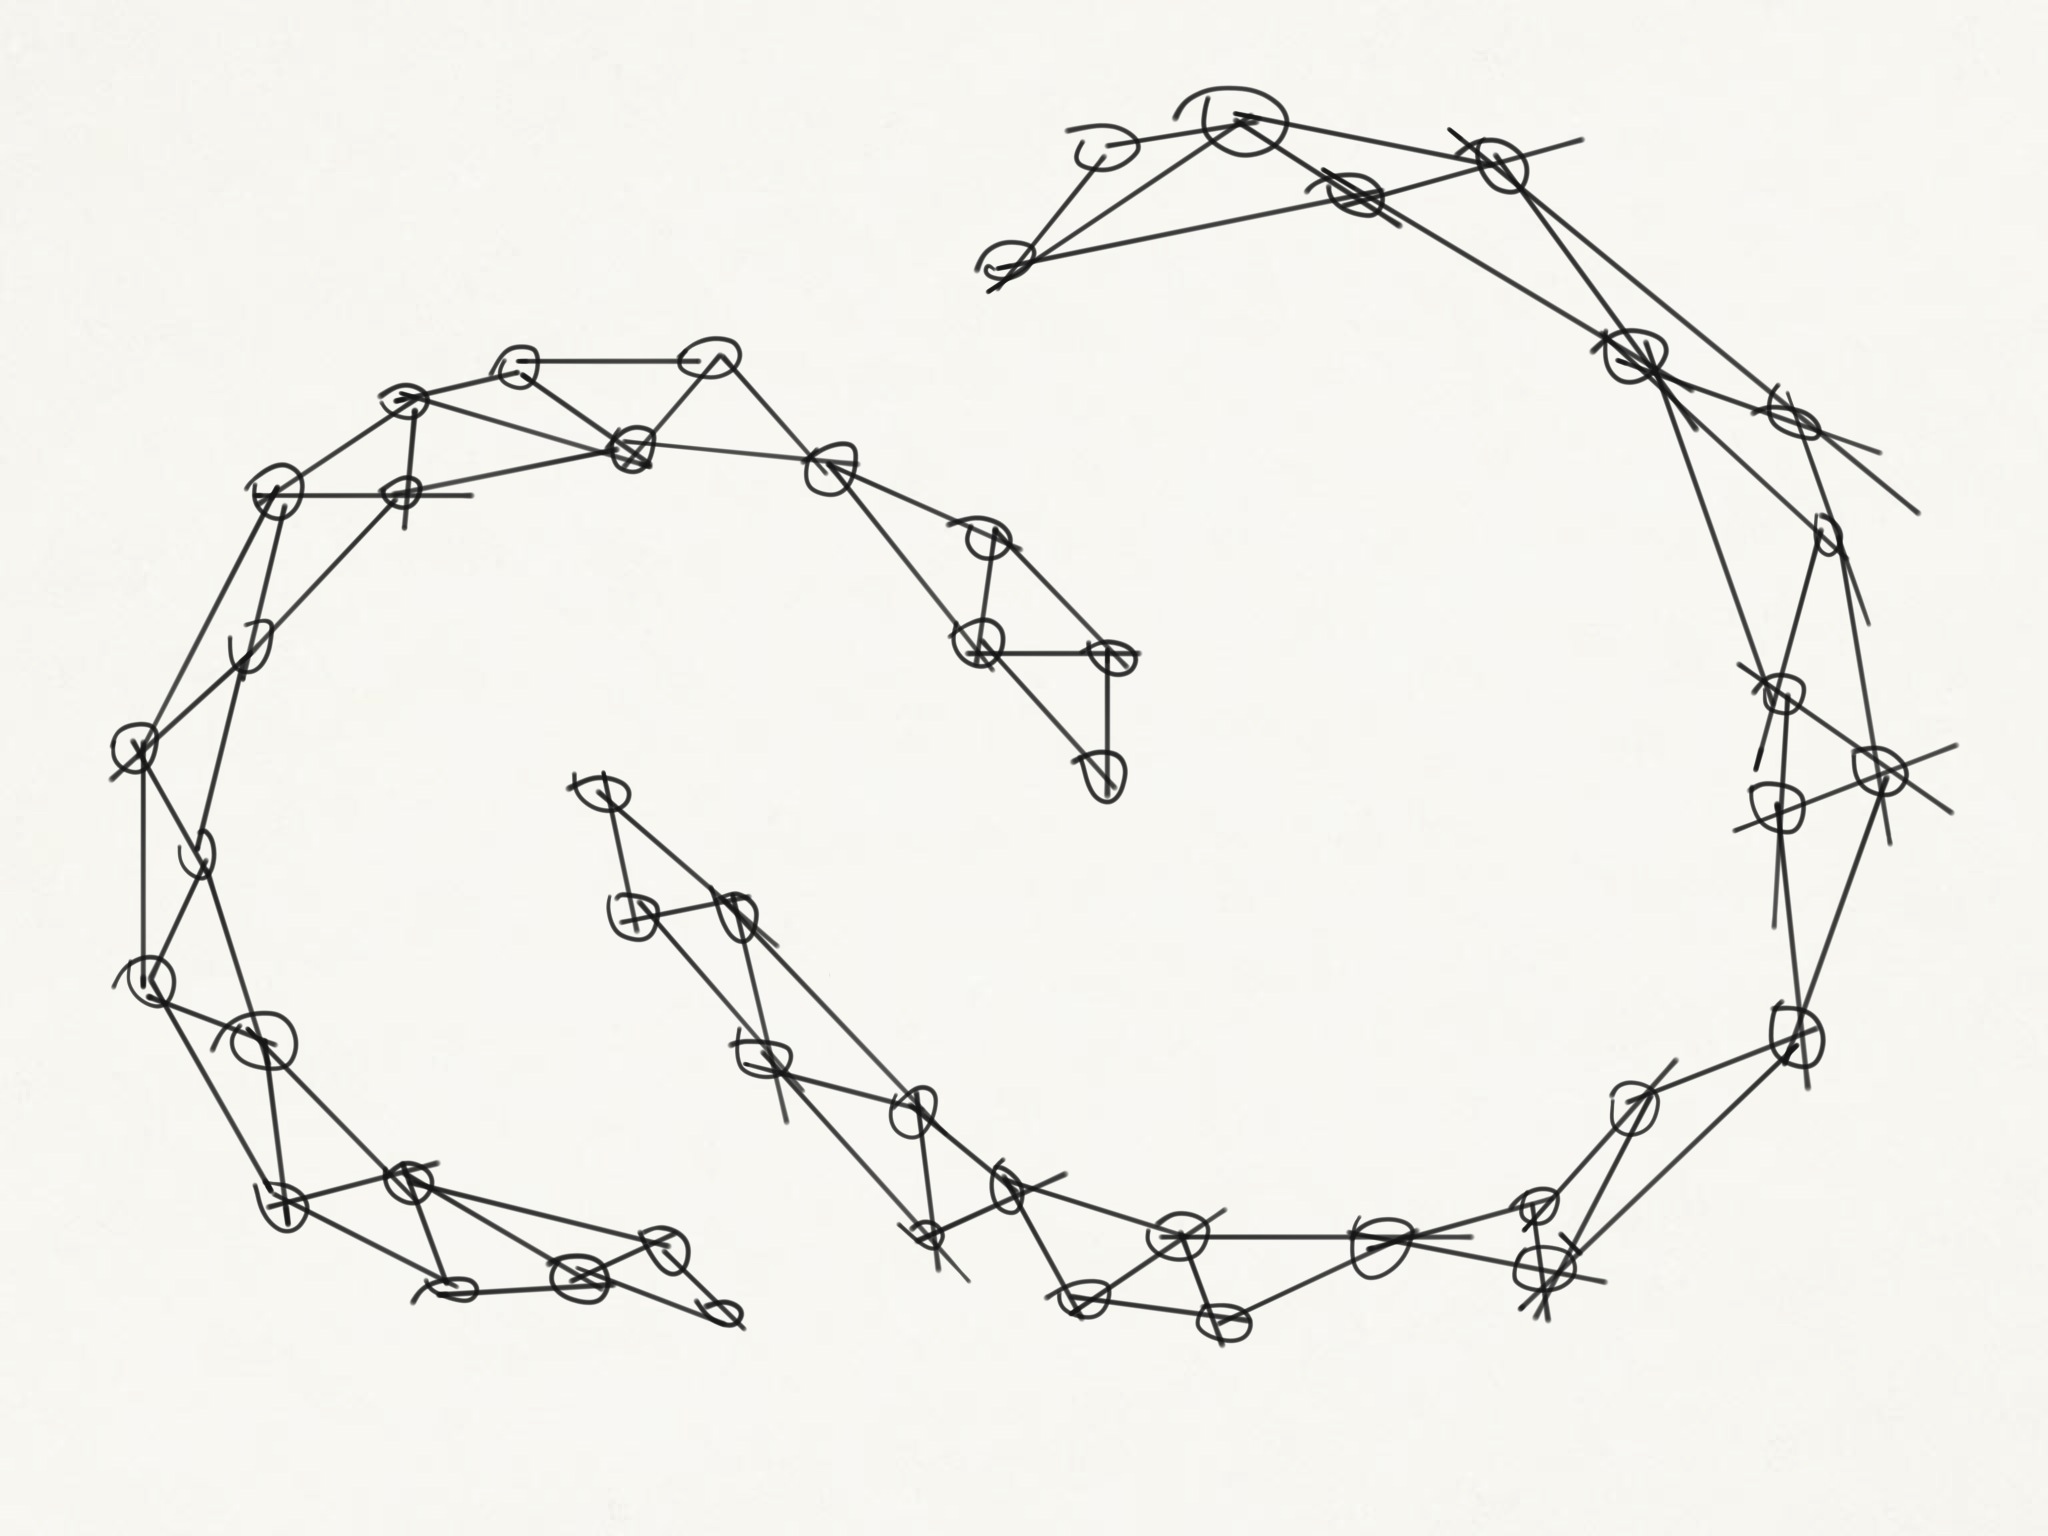
Using Adobe Ink and Sketch, I sketched out some ideas to see how it would look visually.
Initial Sketches in Adobe Ink and Sketch. Getting an idea for the structure and how the colors work.
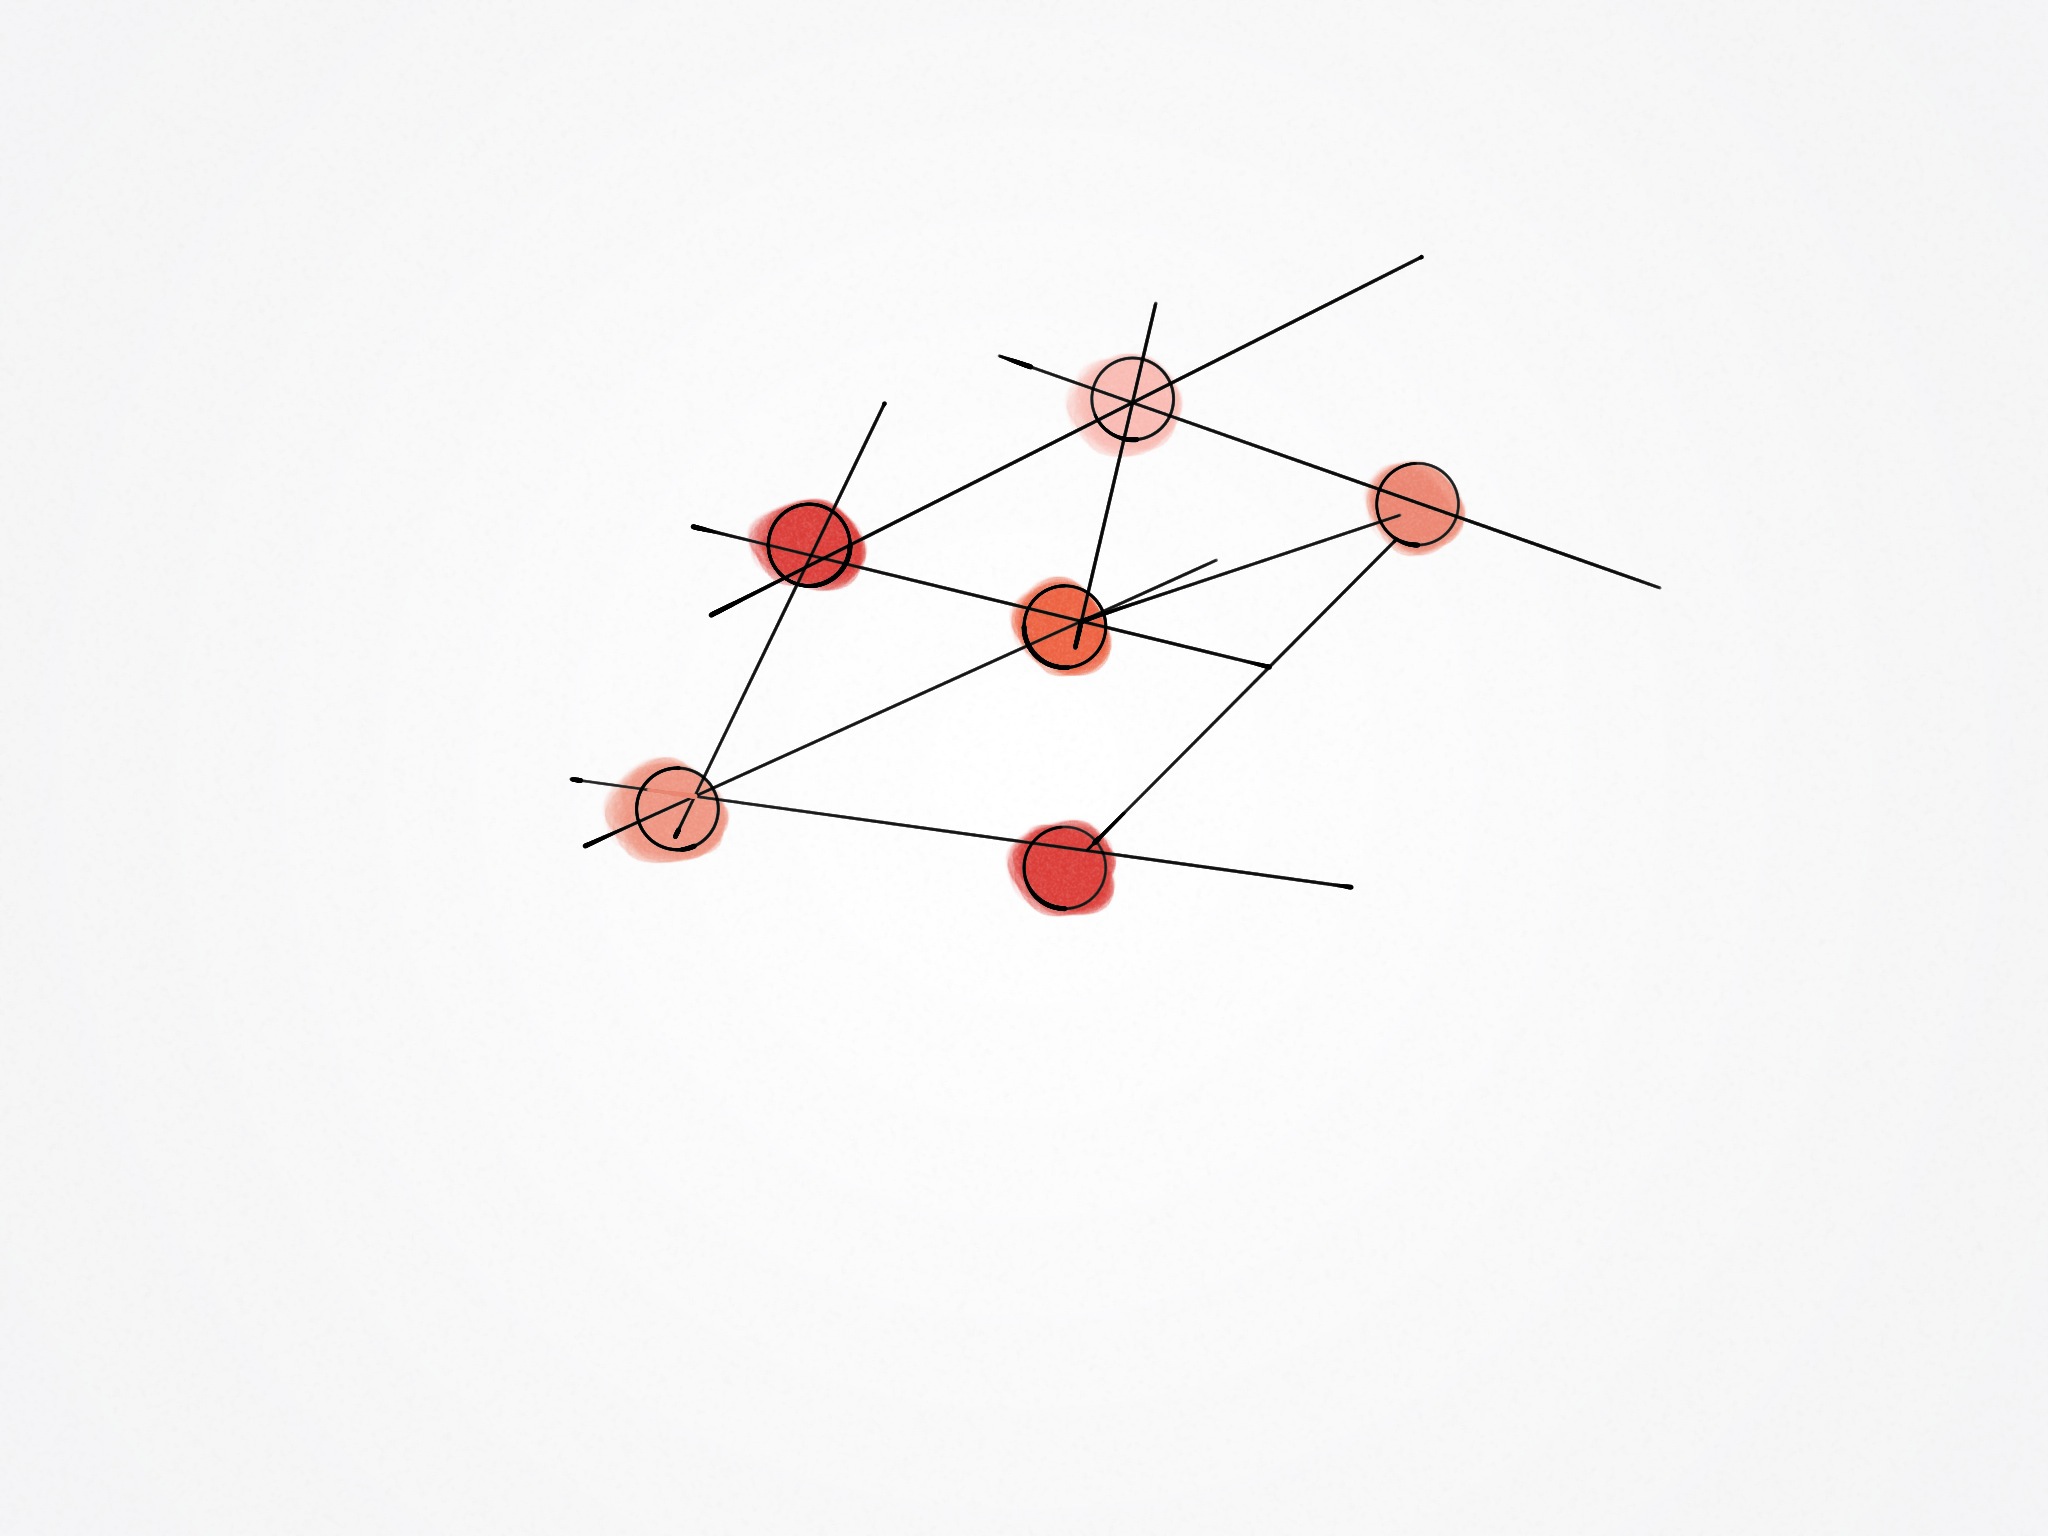
Exploring some concepts without the color.

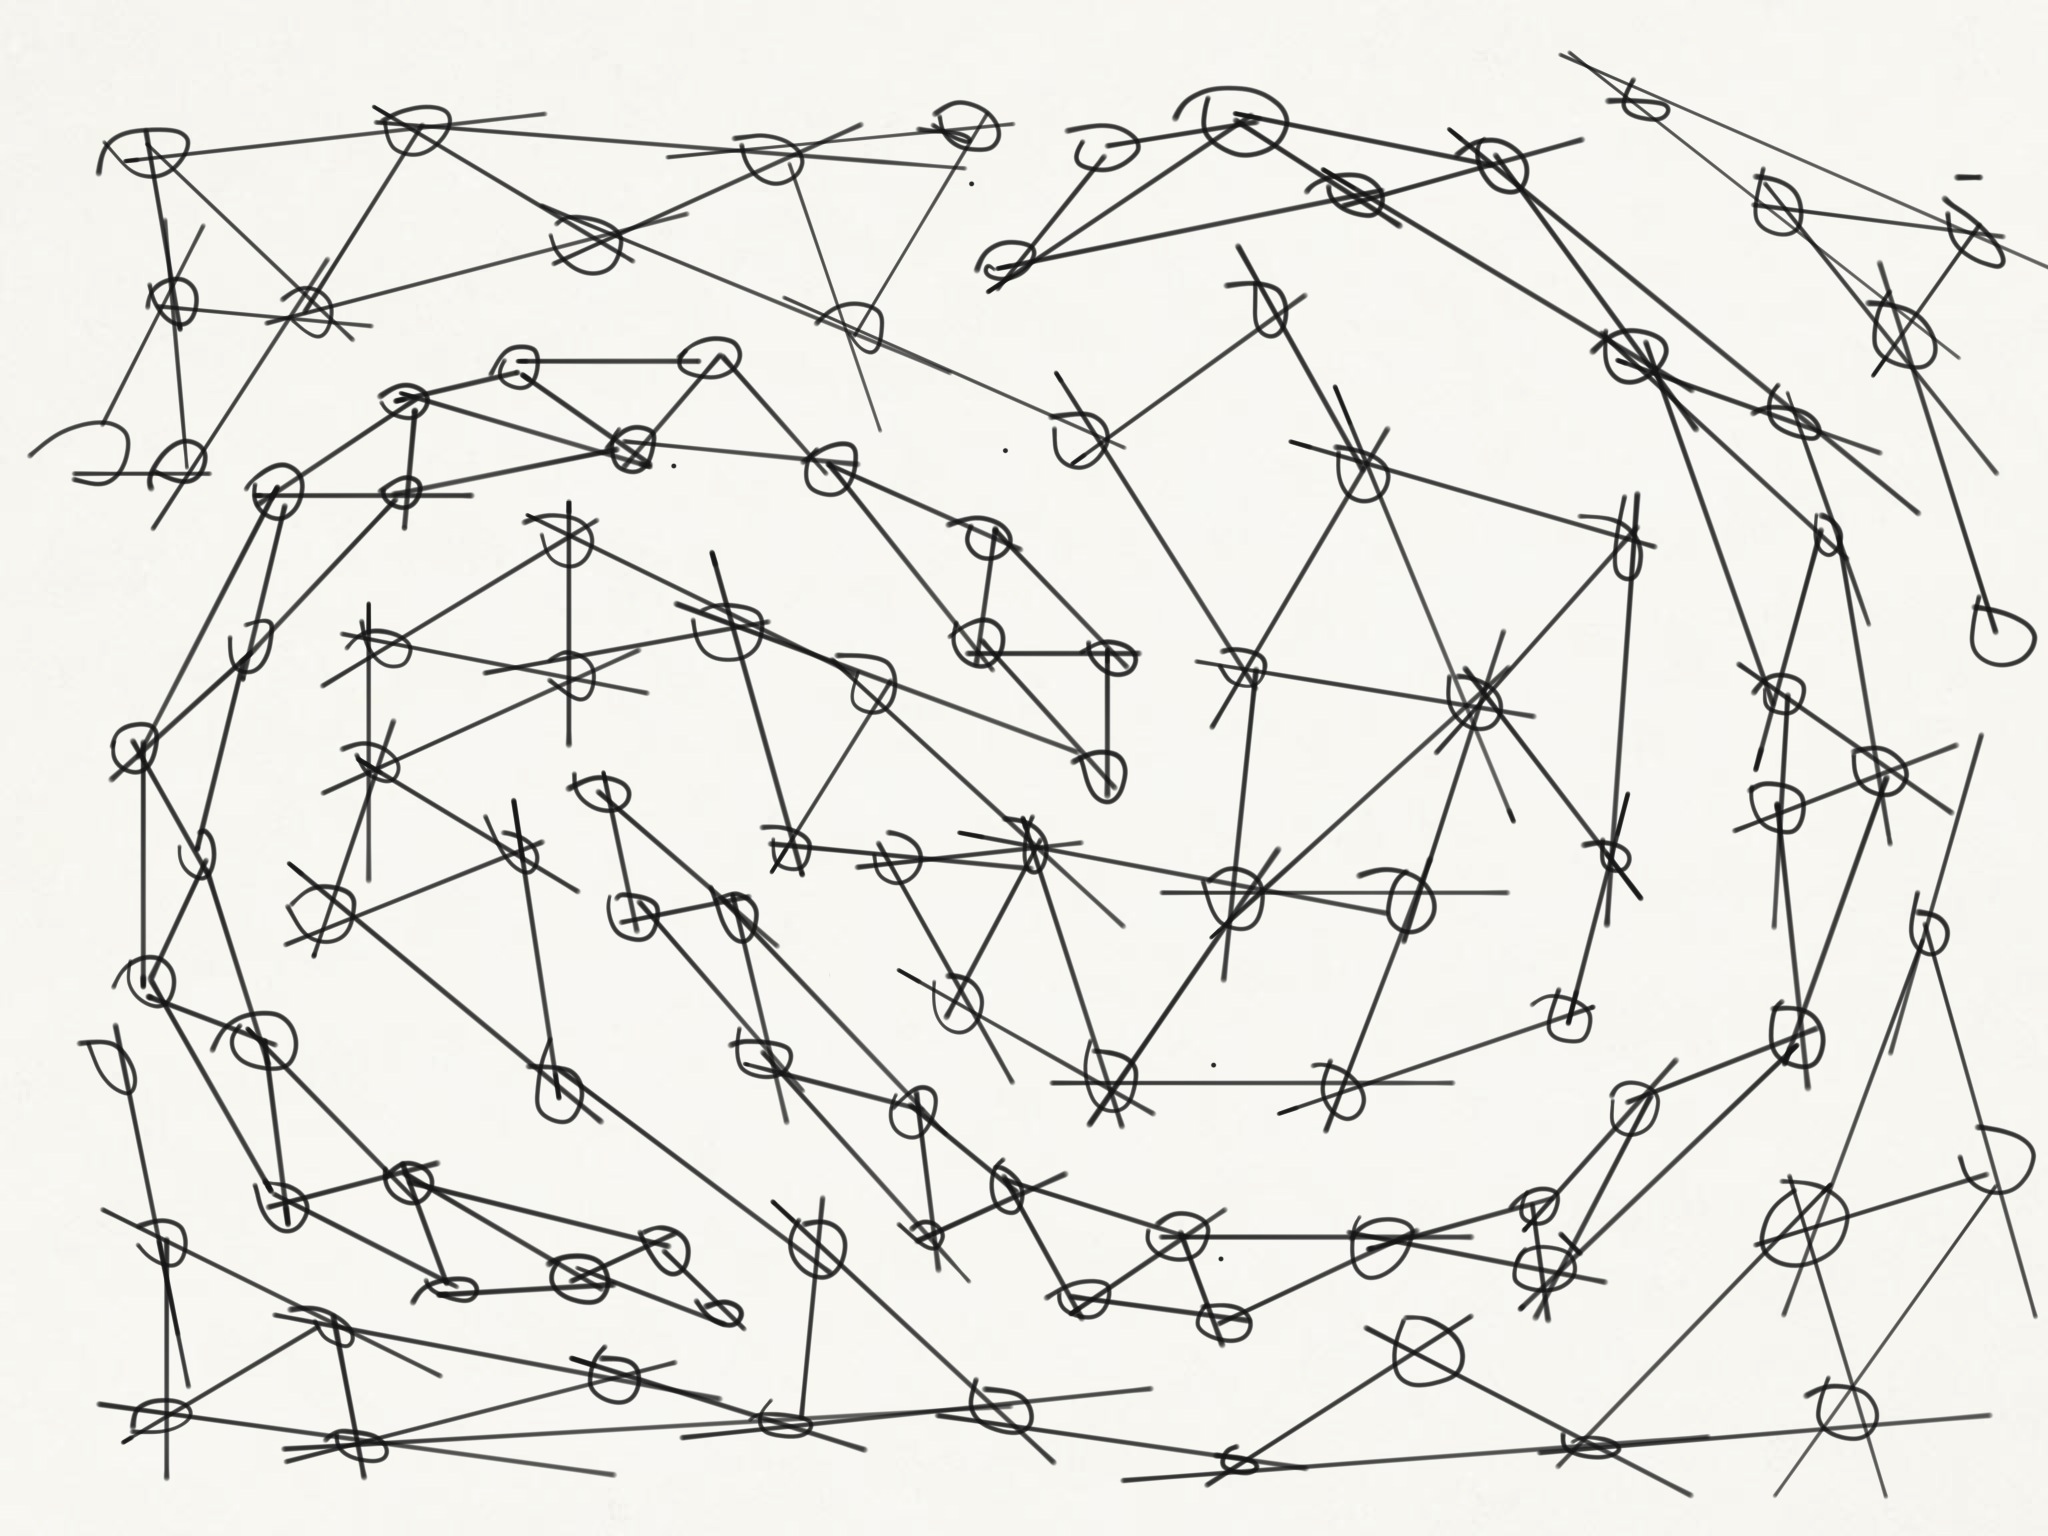
Here I am begining to explore the idea of whether I could use the structures to actually render shapes.
Seeing how well it would work if I rendered both the shape, as well as the background. I felt that the shape was getting lost at this point.
Code
At this point, I had a pretty clear goal of trying to see if I could render shapes using vertext graphs. I began to research graphic frameworks to build the project, and after looking at Cinder, CreateJS, Processing and PaperJS, I settled on PaperJS due to its use of JavaScript and ability to export to a vector format (SVG).
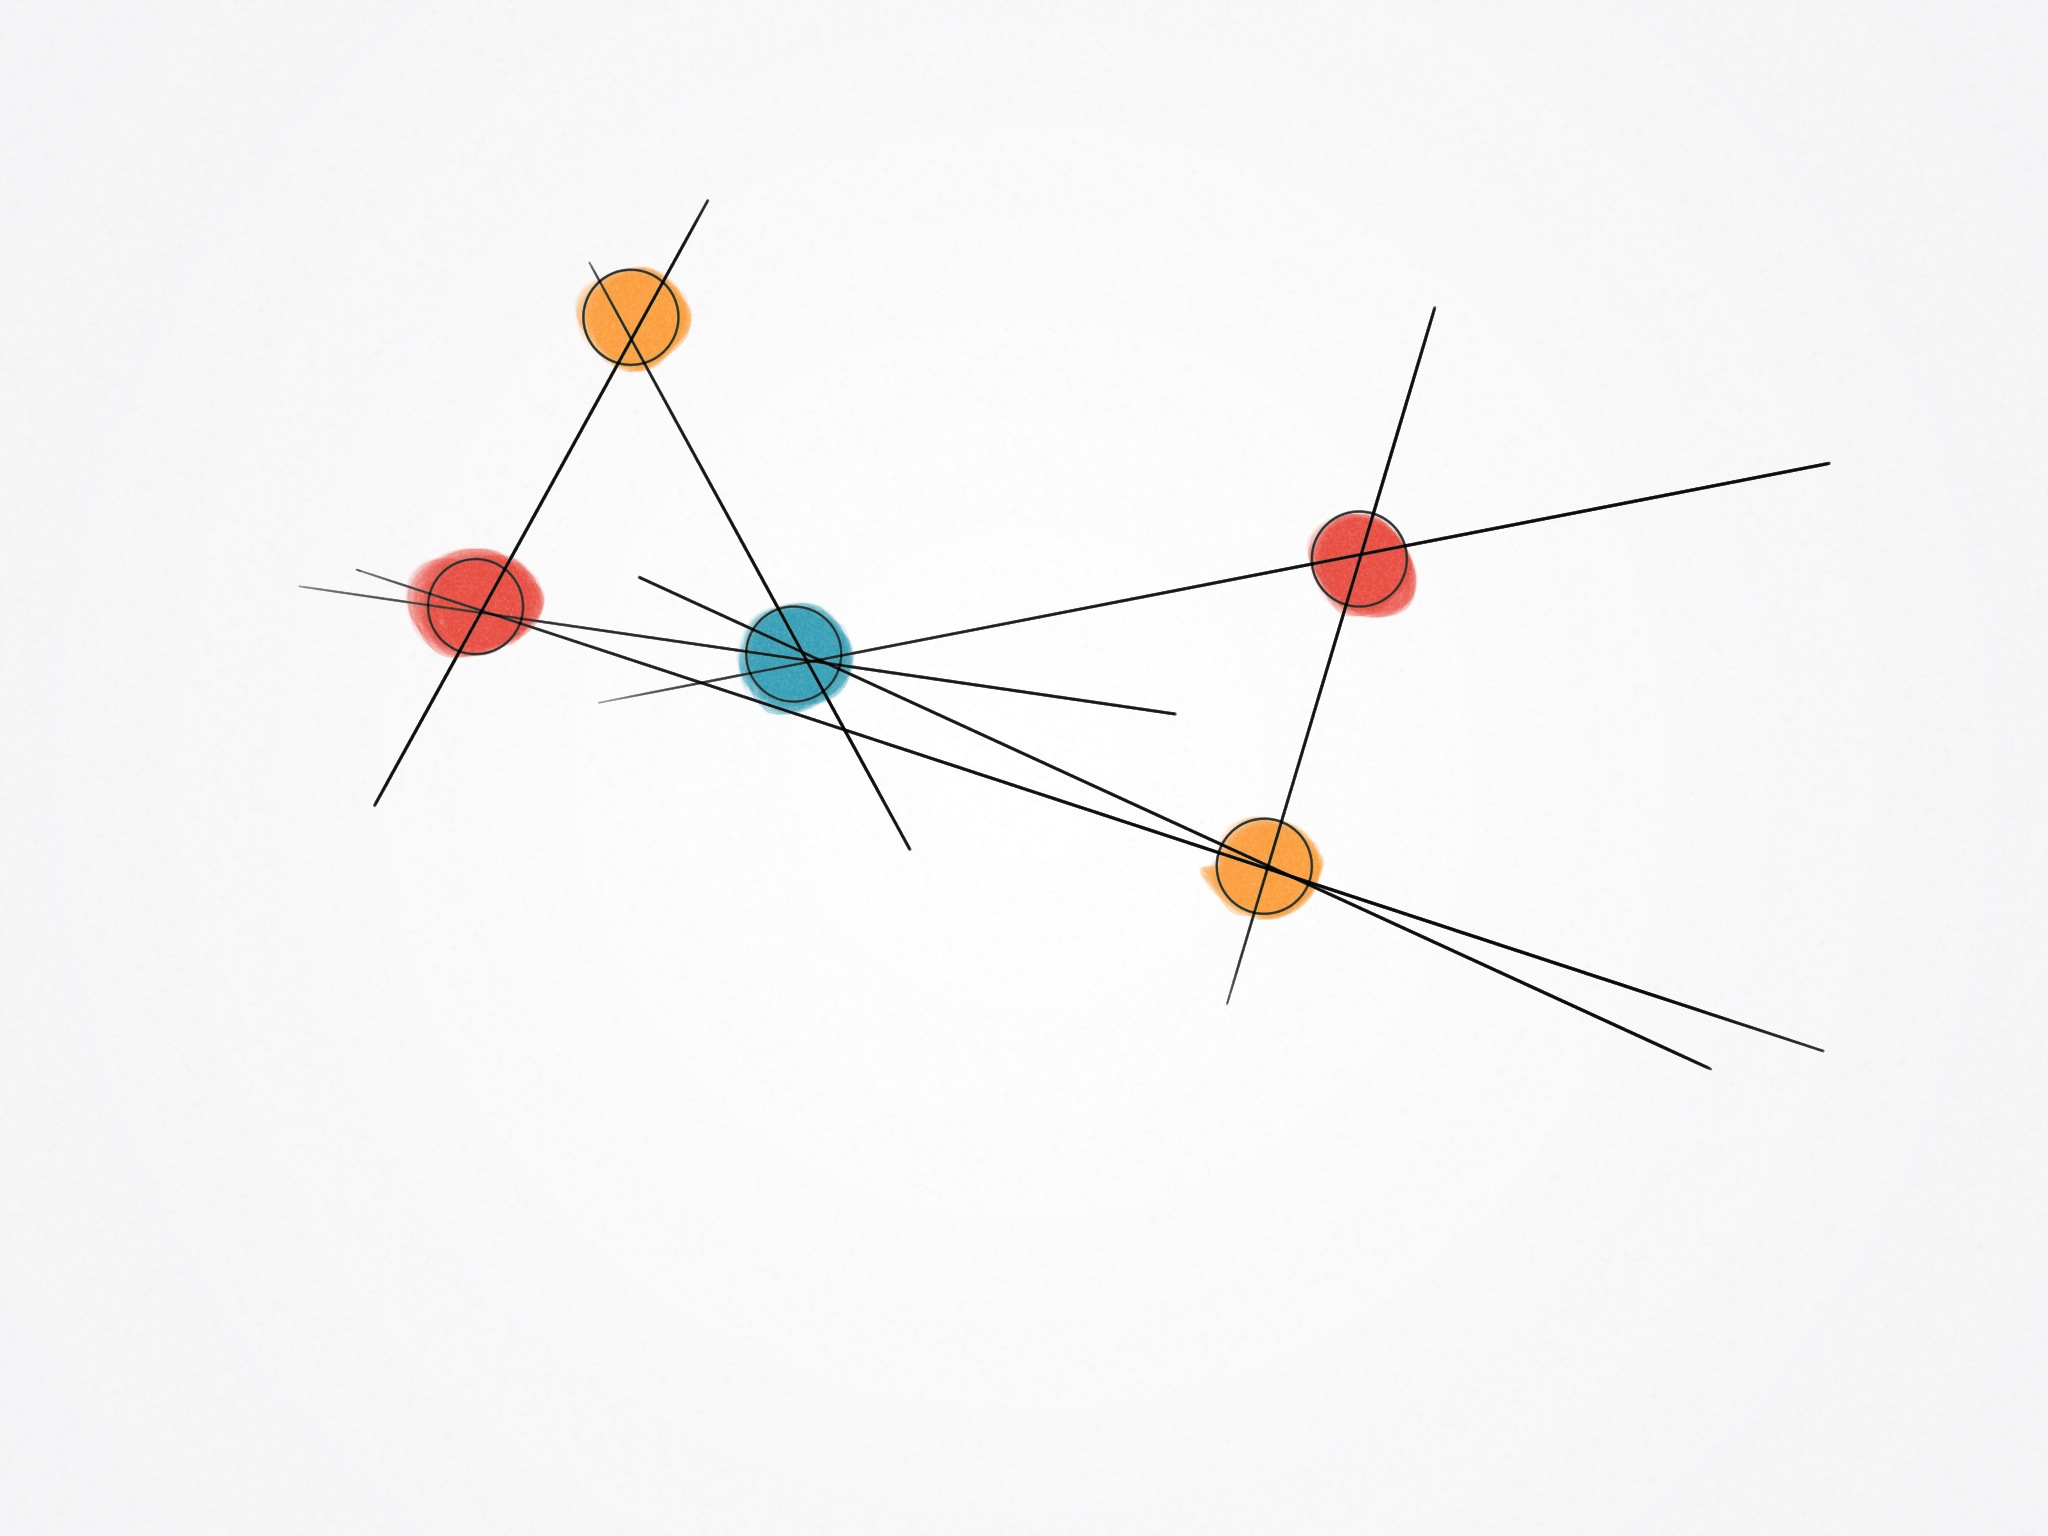
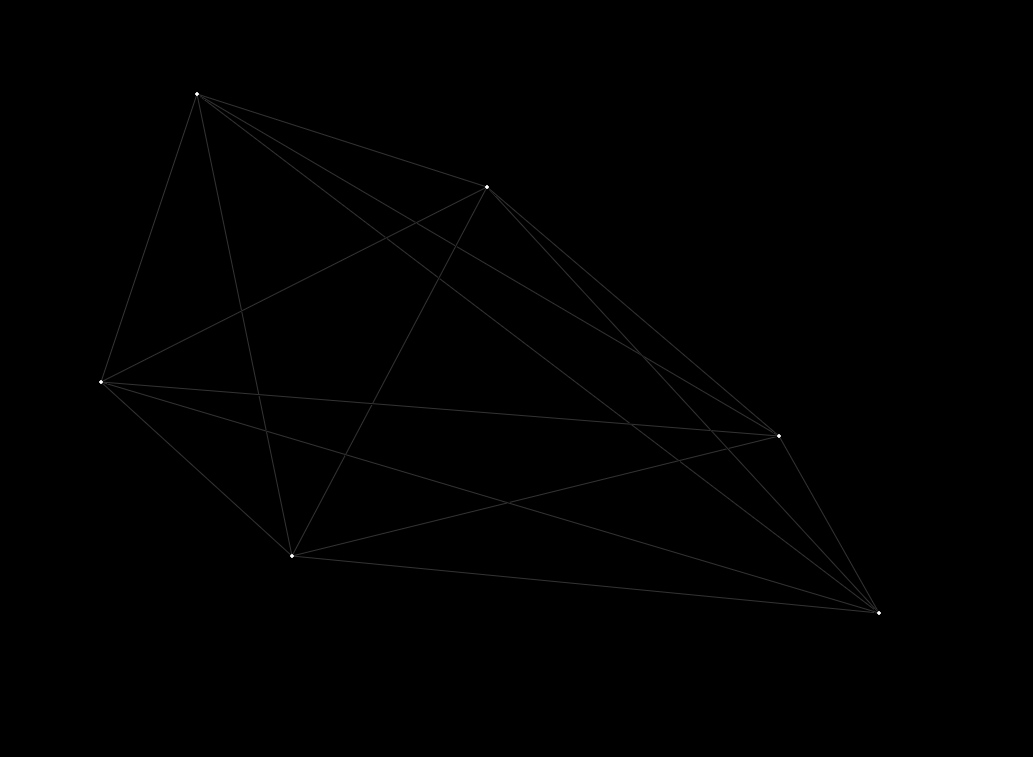
First version of code. Basically, all of the circles connect to the same circle.
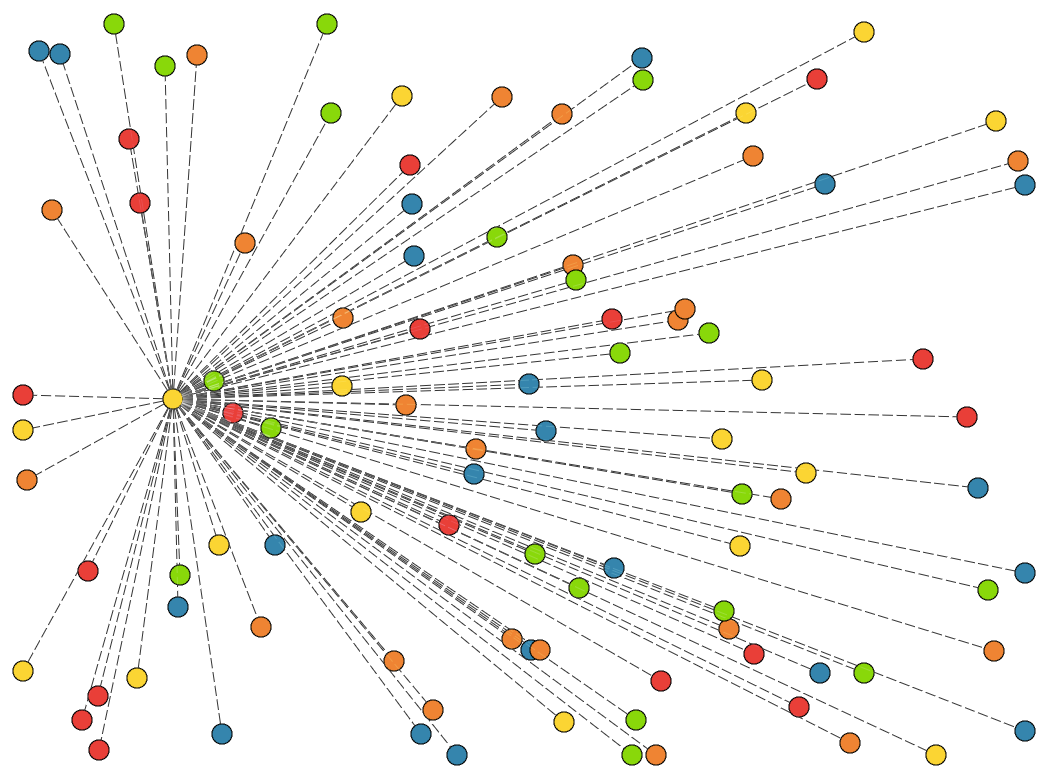
Points connecting to all other points.
Trying a render with a lot of points.
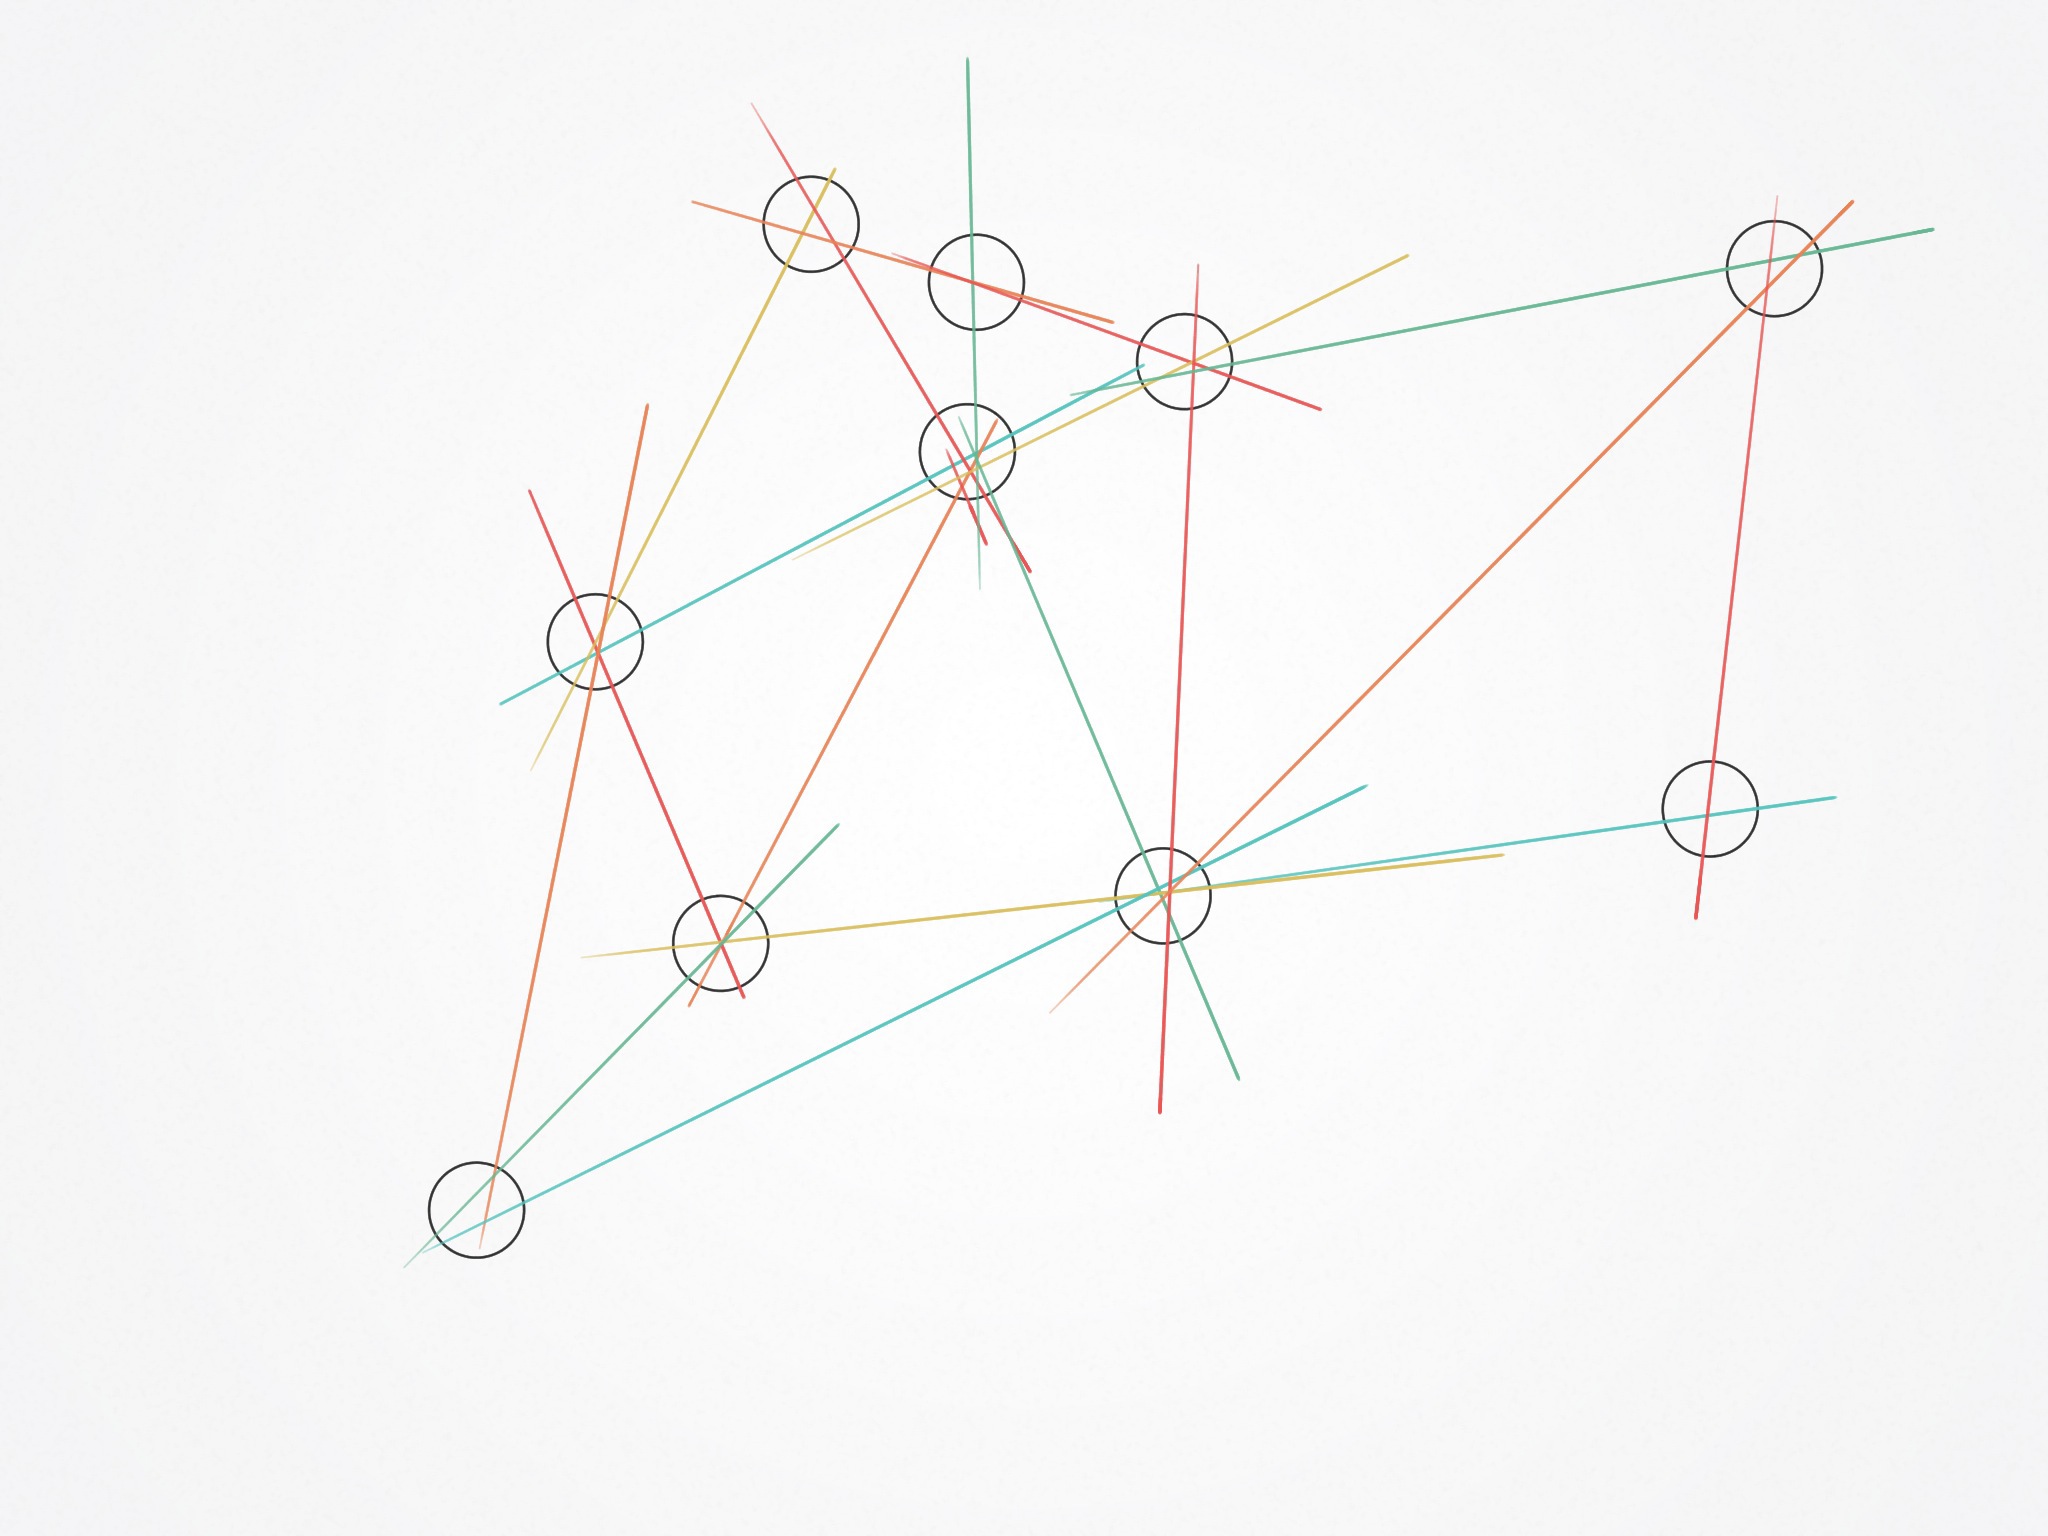
Points now only connect to their closest neighbor points (I can easily tweak the number of points and neighbor points to get different effects).
Through all of this, my code base can animate the points. This example shows my first attempt to group the points and only connect them within a their group.
I then added code that groups the points based on a template that is loaded. My code has support for grouping by an unlimited number of colors, but I am only using two (black and white). Here is the Creative Cloud template.

This is the code output with Creative Cloud logo template loaded. You can clearly see the shape, but I wasnt really happy with the resolution I was able to get.
At this point, I branched the code, and began to take it in another direction (away from my original idea).
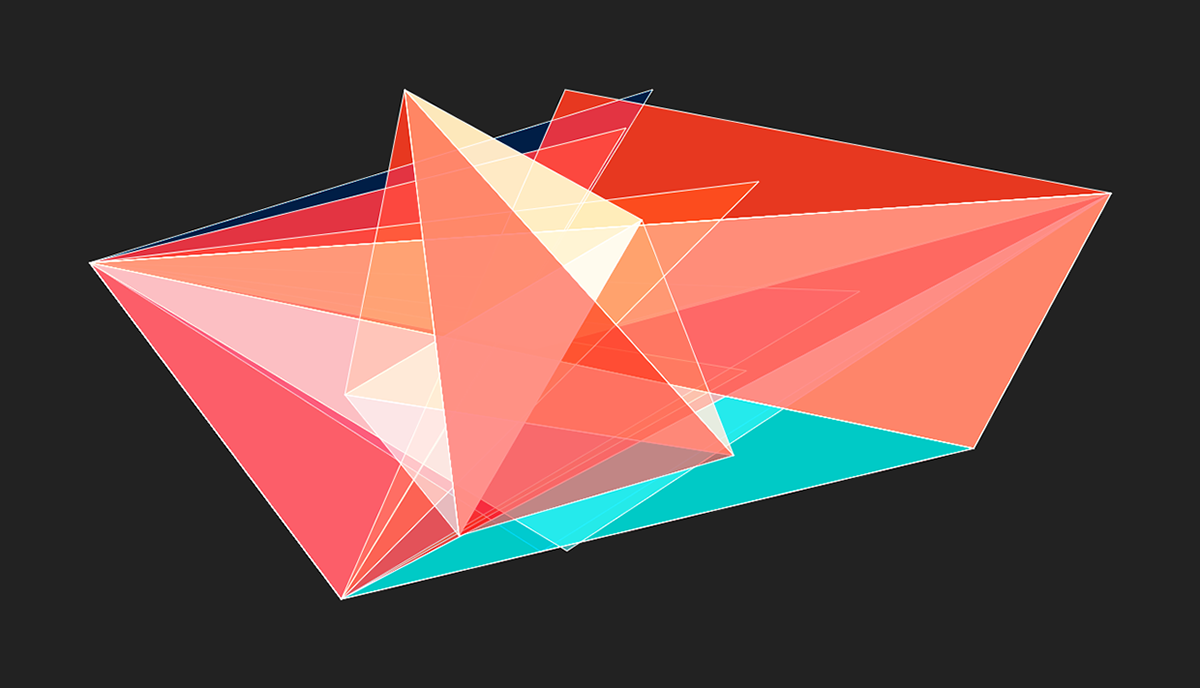
In this example, I am now filling the shapes created by the lines, and connecting to their furtherst neighbors, as opposed to their closest. You can still see that I am using the Creative Cloud template from the shape in the middle.
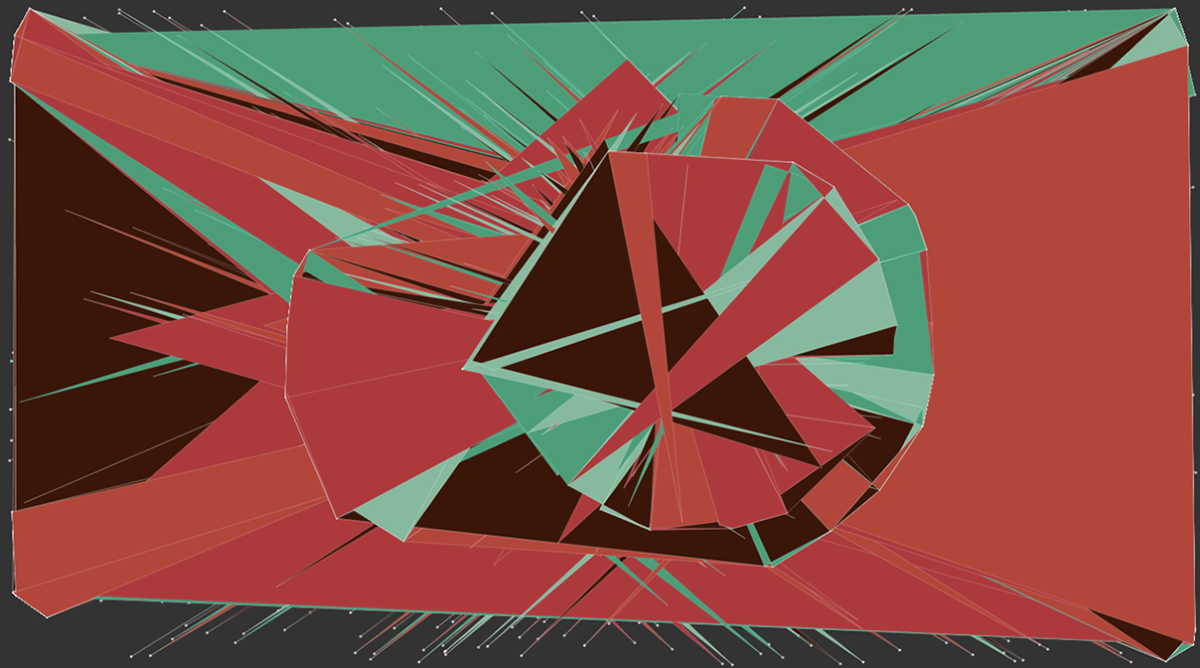

Trying fewer points and neighbors to get simpler geometry. At this point, I have written code that lets me save the images from the browser as a PNG or an SVG file. The SVG file is particularly important, as I can bring that into Illustrator and do prints of virtually any size (i.e. not limited by the resolution of the PNG).
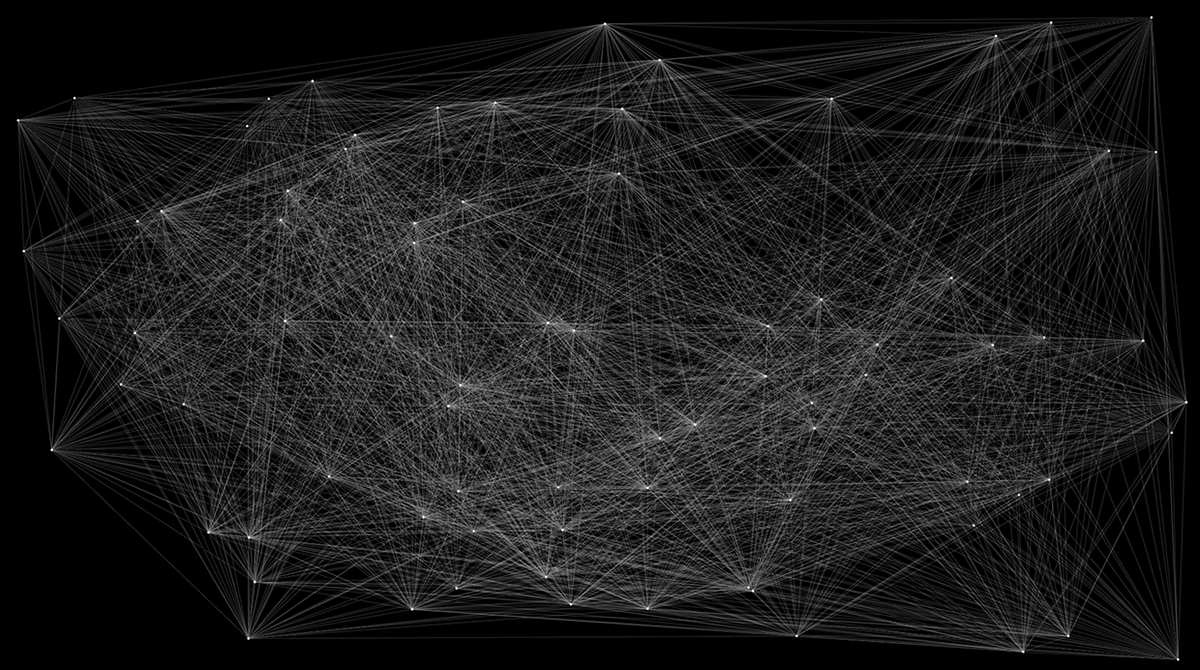
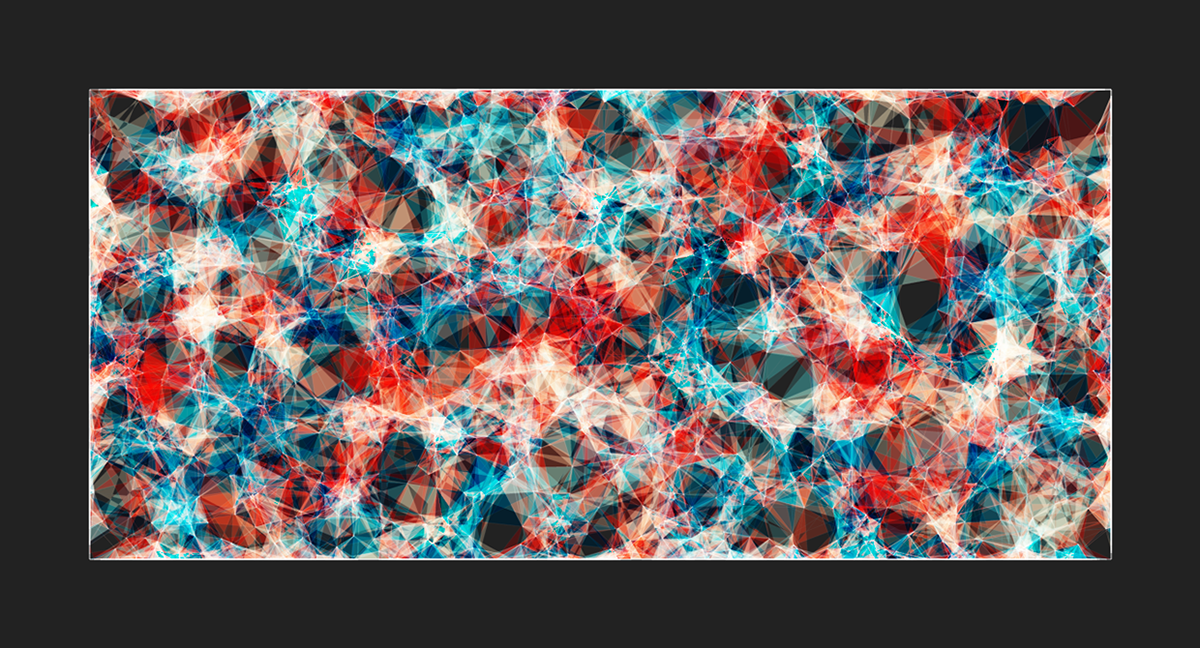
Here I playing around with the bounds where points can be placed which forces the shapes into a rectangle. At this point, I am really enjoying the results I am getting. This example has about 3000 points, each connecting to their 20 closest neighbors, and takes a couple of seconds to render in Chrome.
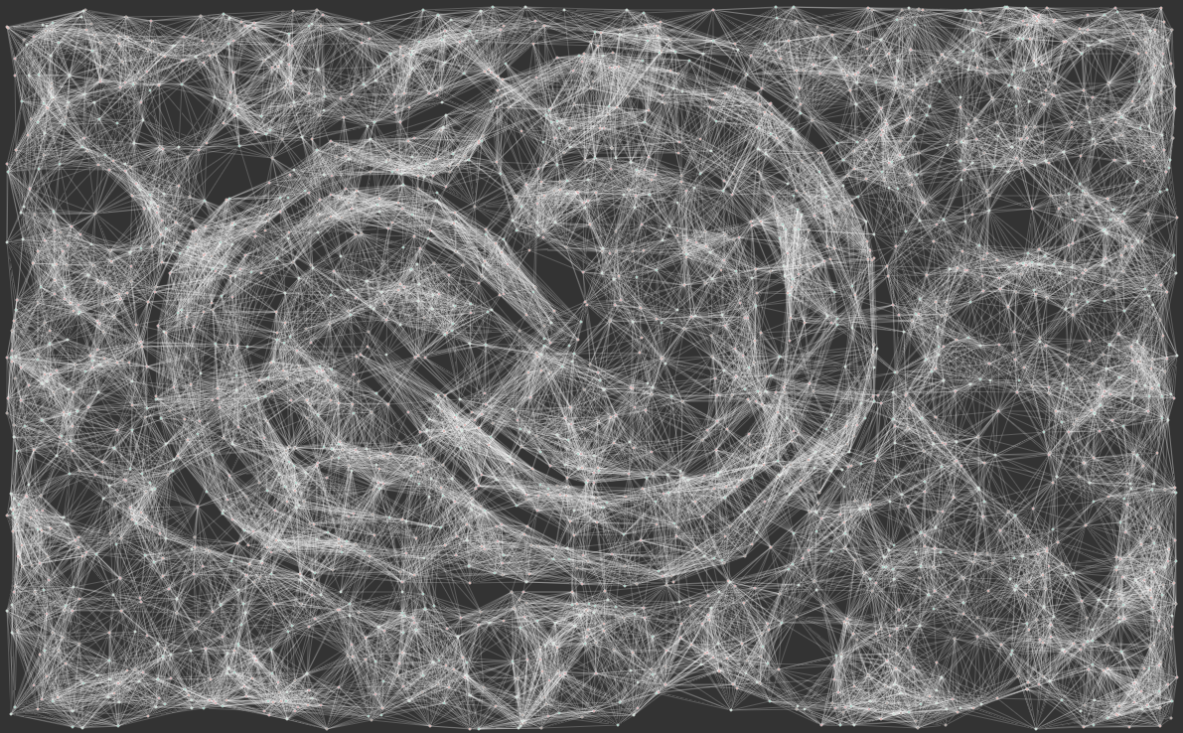
Finally, I get back to my original idea, and once again use the template I created for the Creative Cloud logo.
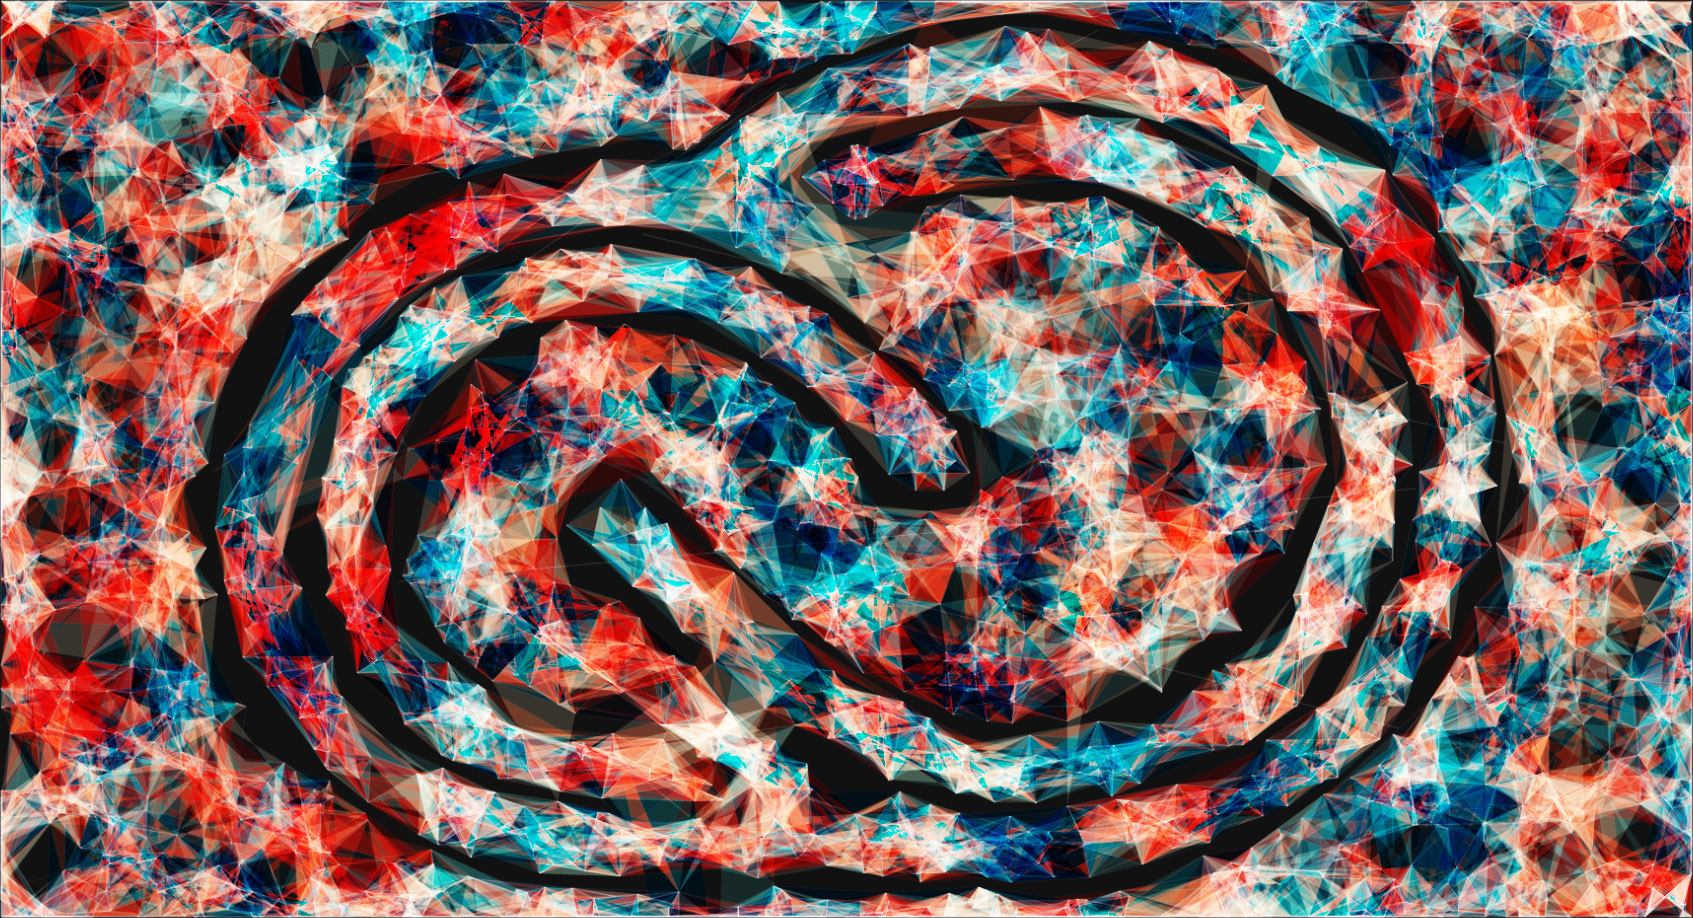
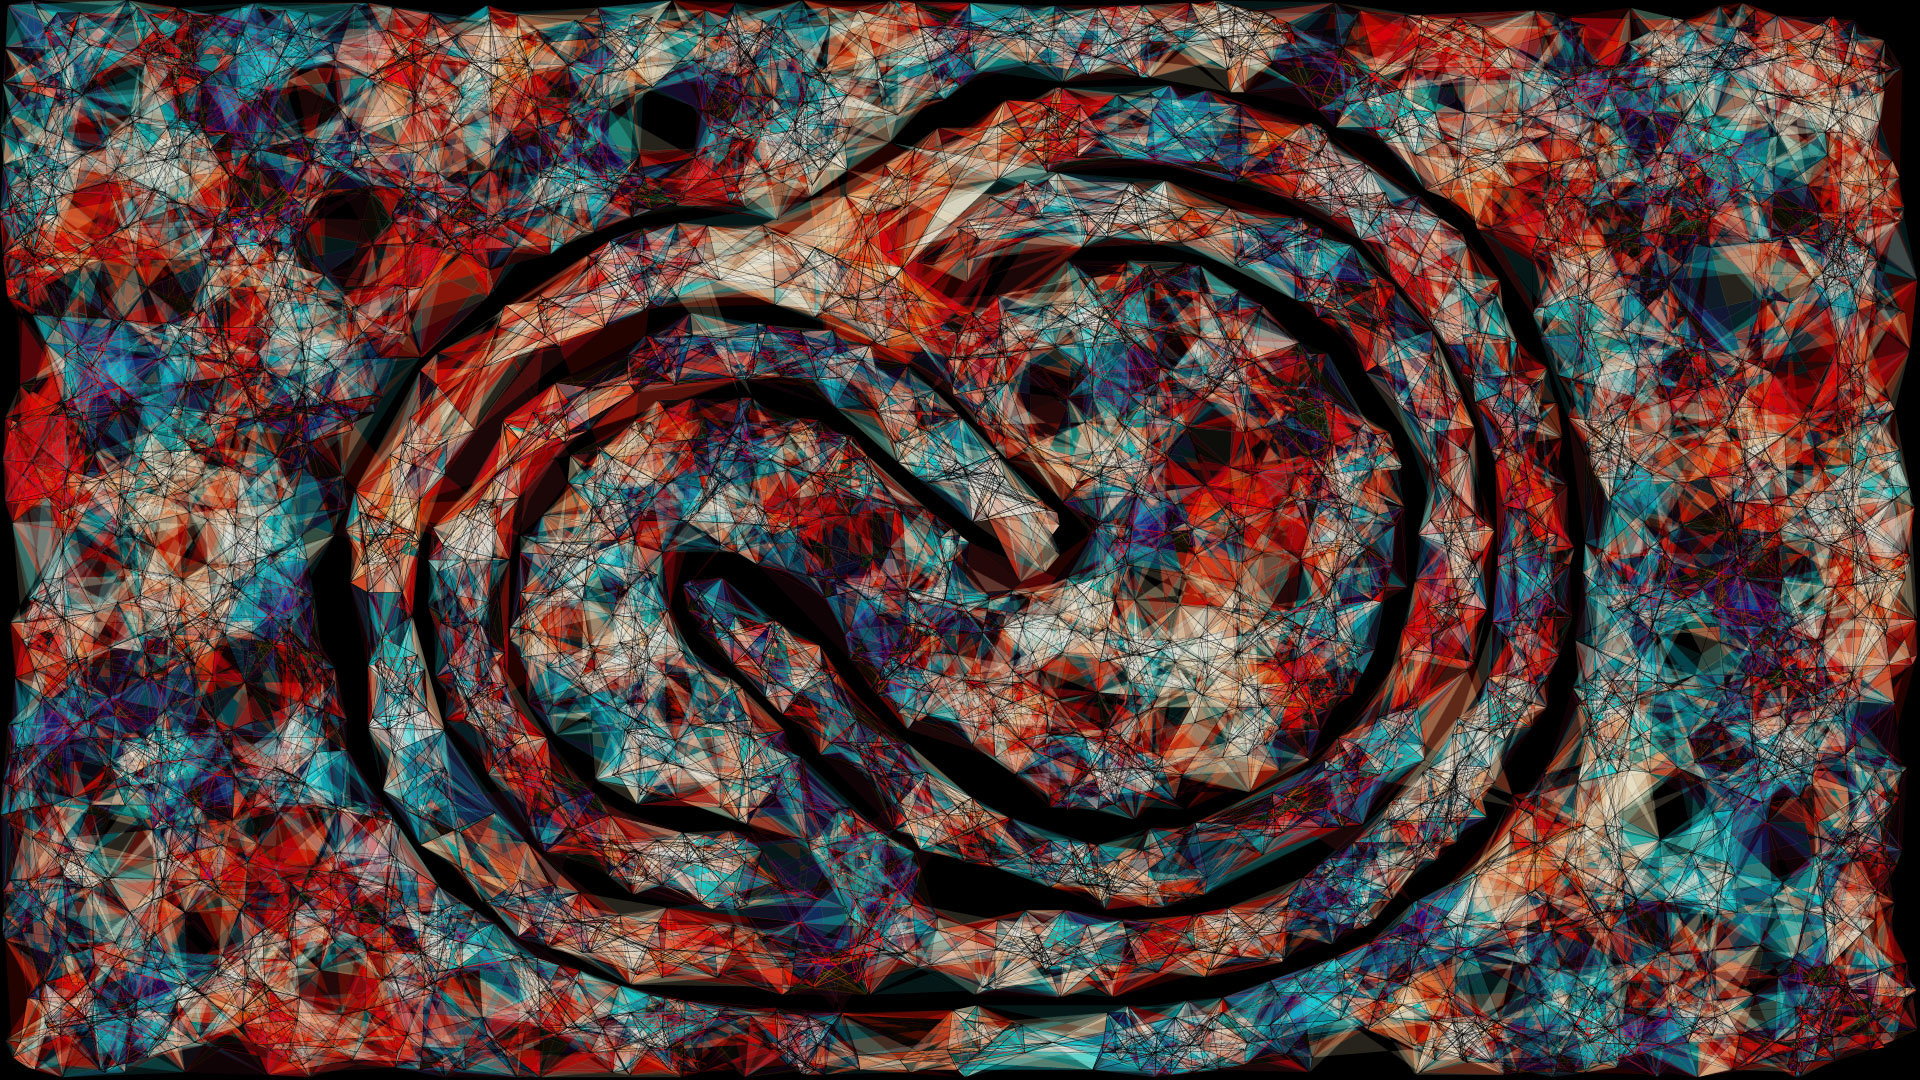
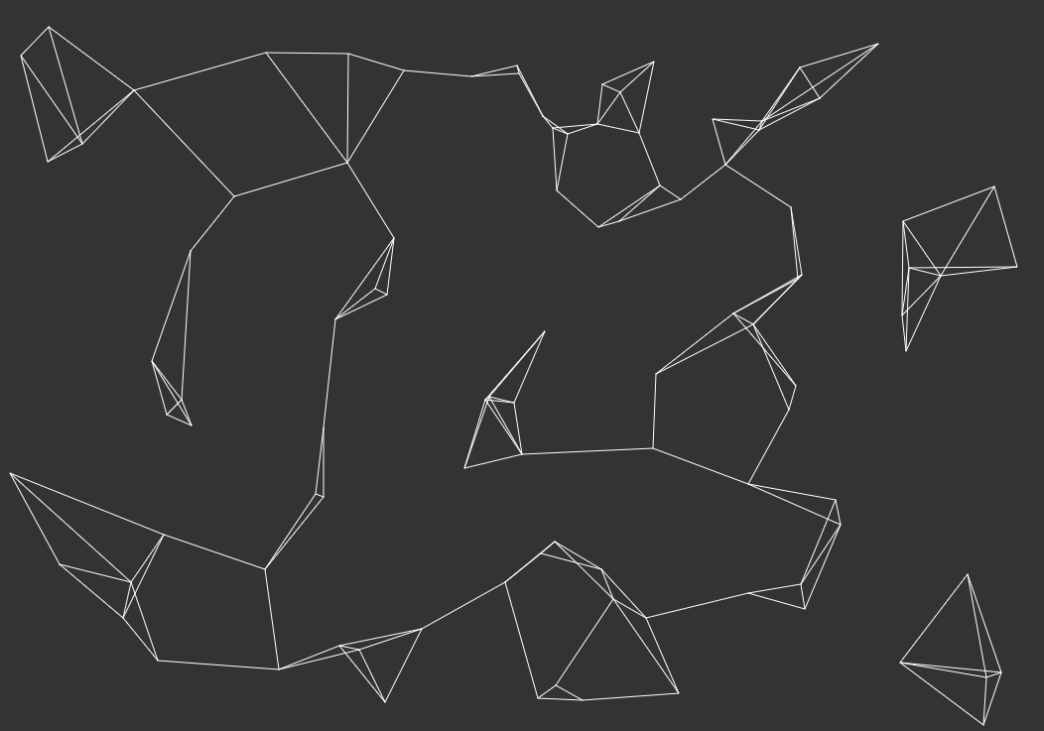
The was the final render which uses 3800 points, each connecting to their closest 20 neighbors. I then created a wireframe of the image.
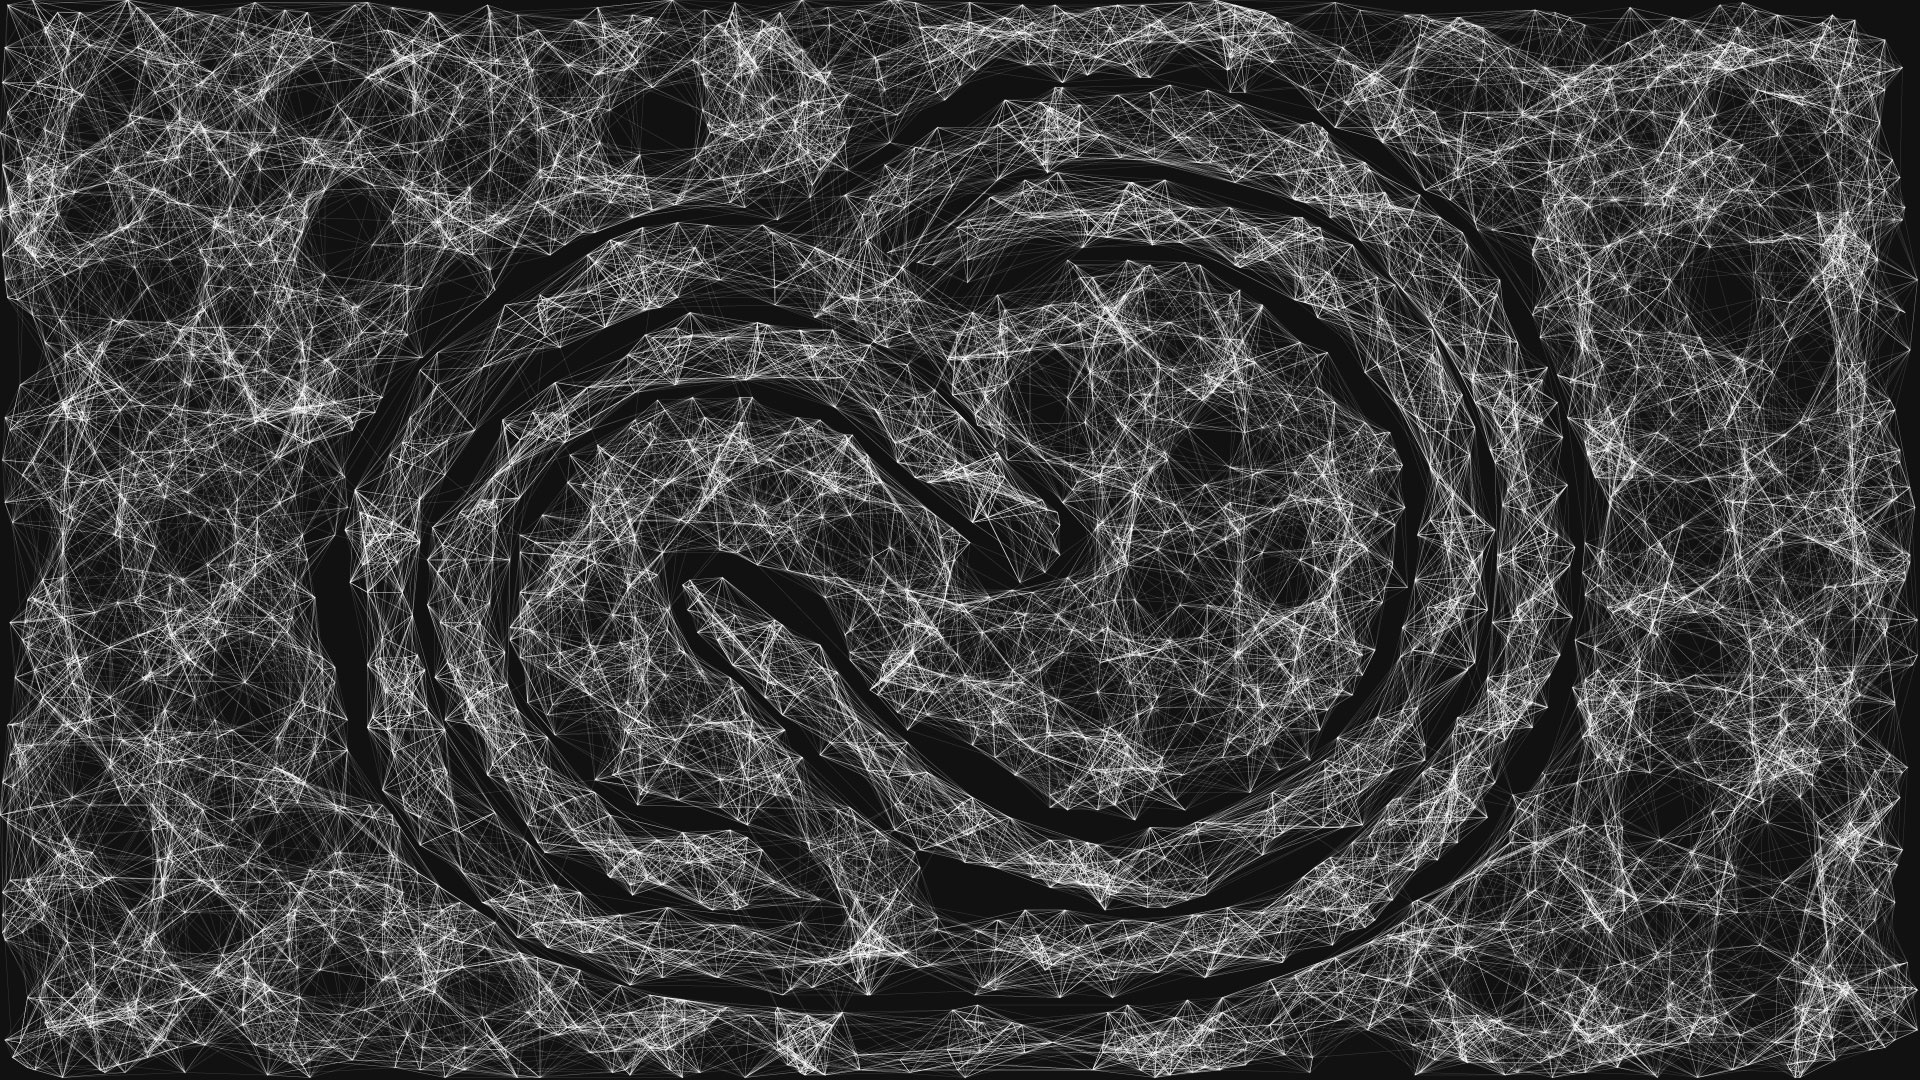
This combined with the render resulted in the final image (at the top).